Trend Tutorial: DIY Charm Necklaces
We’re all in search of self-expression and connection, so it’s no surprise that charm necklaces are super trendy right now. Over the past several months I’ve been seeing charm necklaces all over, and I’ve fallen in love with their uniqueness and whimsy.
They’re very reminiscent of the Italian charm bracelets of the early 2000s, giving you the chance to share something about you personality, interests, or history in jewelry form. I had been considering just buying a charm necklace, but I like the idea of piecing the necklace together to be uniquely mine. Jewelry making can feel daunting, but with the right tools and patience you’ll have an adorable piece in no time!
This post will walk you through the steps of creating your own personalized charm necklace so you can join in on the fun!
What You'll Need:
Chain: Choose a length and material that suits you. Popular standard options are 16" or 18" but I recommend getting more chain and sizing down. I went with a gold cable chain, which I sized down to 19” so I have plenty of room for charms.
Clasp or Closure: The most common clasp closure is a lobster claw clasp, but there are other options such as carabiner or snap closures.
Jump rings: These tiny metal rings will connect your charms and clasp to the chain. Sizes between 4mm and 6mm are good for most charms.
Pliers: A pair of small needle-nose pliers will help you open and close jump rings.
Charms!: Get creative here. Use store-bought charms, trinkets you collect, or even make your own (more on that later).
Total Cost: Under $20
In need of jewelry-making basics? Here is a selection of items to get you started! (Earns Commission)
Instructions:
Size your chain: If your chain isn’t sized properly, hold the chain loosely around your neck to see where you want the necklace to lay and hold the chain segment at that length. If you look closely you should see a notch where the segment ends come together; use your needle-nose pliers to work the segment open enough to let the rest of the chain slip out. Close the new end segment back up.
Plan your layout: Before attaching anything, lay out your charms on a flat surface to decide on the order and spacing. You can even sketch a design if you want a specific look. Keep in mind that how lay out the charms is how other people are going to see them, not how you see them when you look down.
Attach the clasp: Open a jump ring with your pliers and attach it to one end of the chain, closing the ring again. Then, open another jump ring and connect it to the other end of the chain and the loop on your clasp. Make sure both jump rings are closed securely with the pliers, the worst thing is having a necklace break while you’re wearing it.
Charm time! Now comes the fun part! Open a jump ring, slide it through the loop or hole on your first charm, then attach the jump ring to a link on the chain. Close the jump ring with pliers. Repeat this process for each charm, following your planned layout.
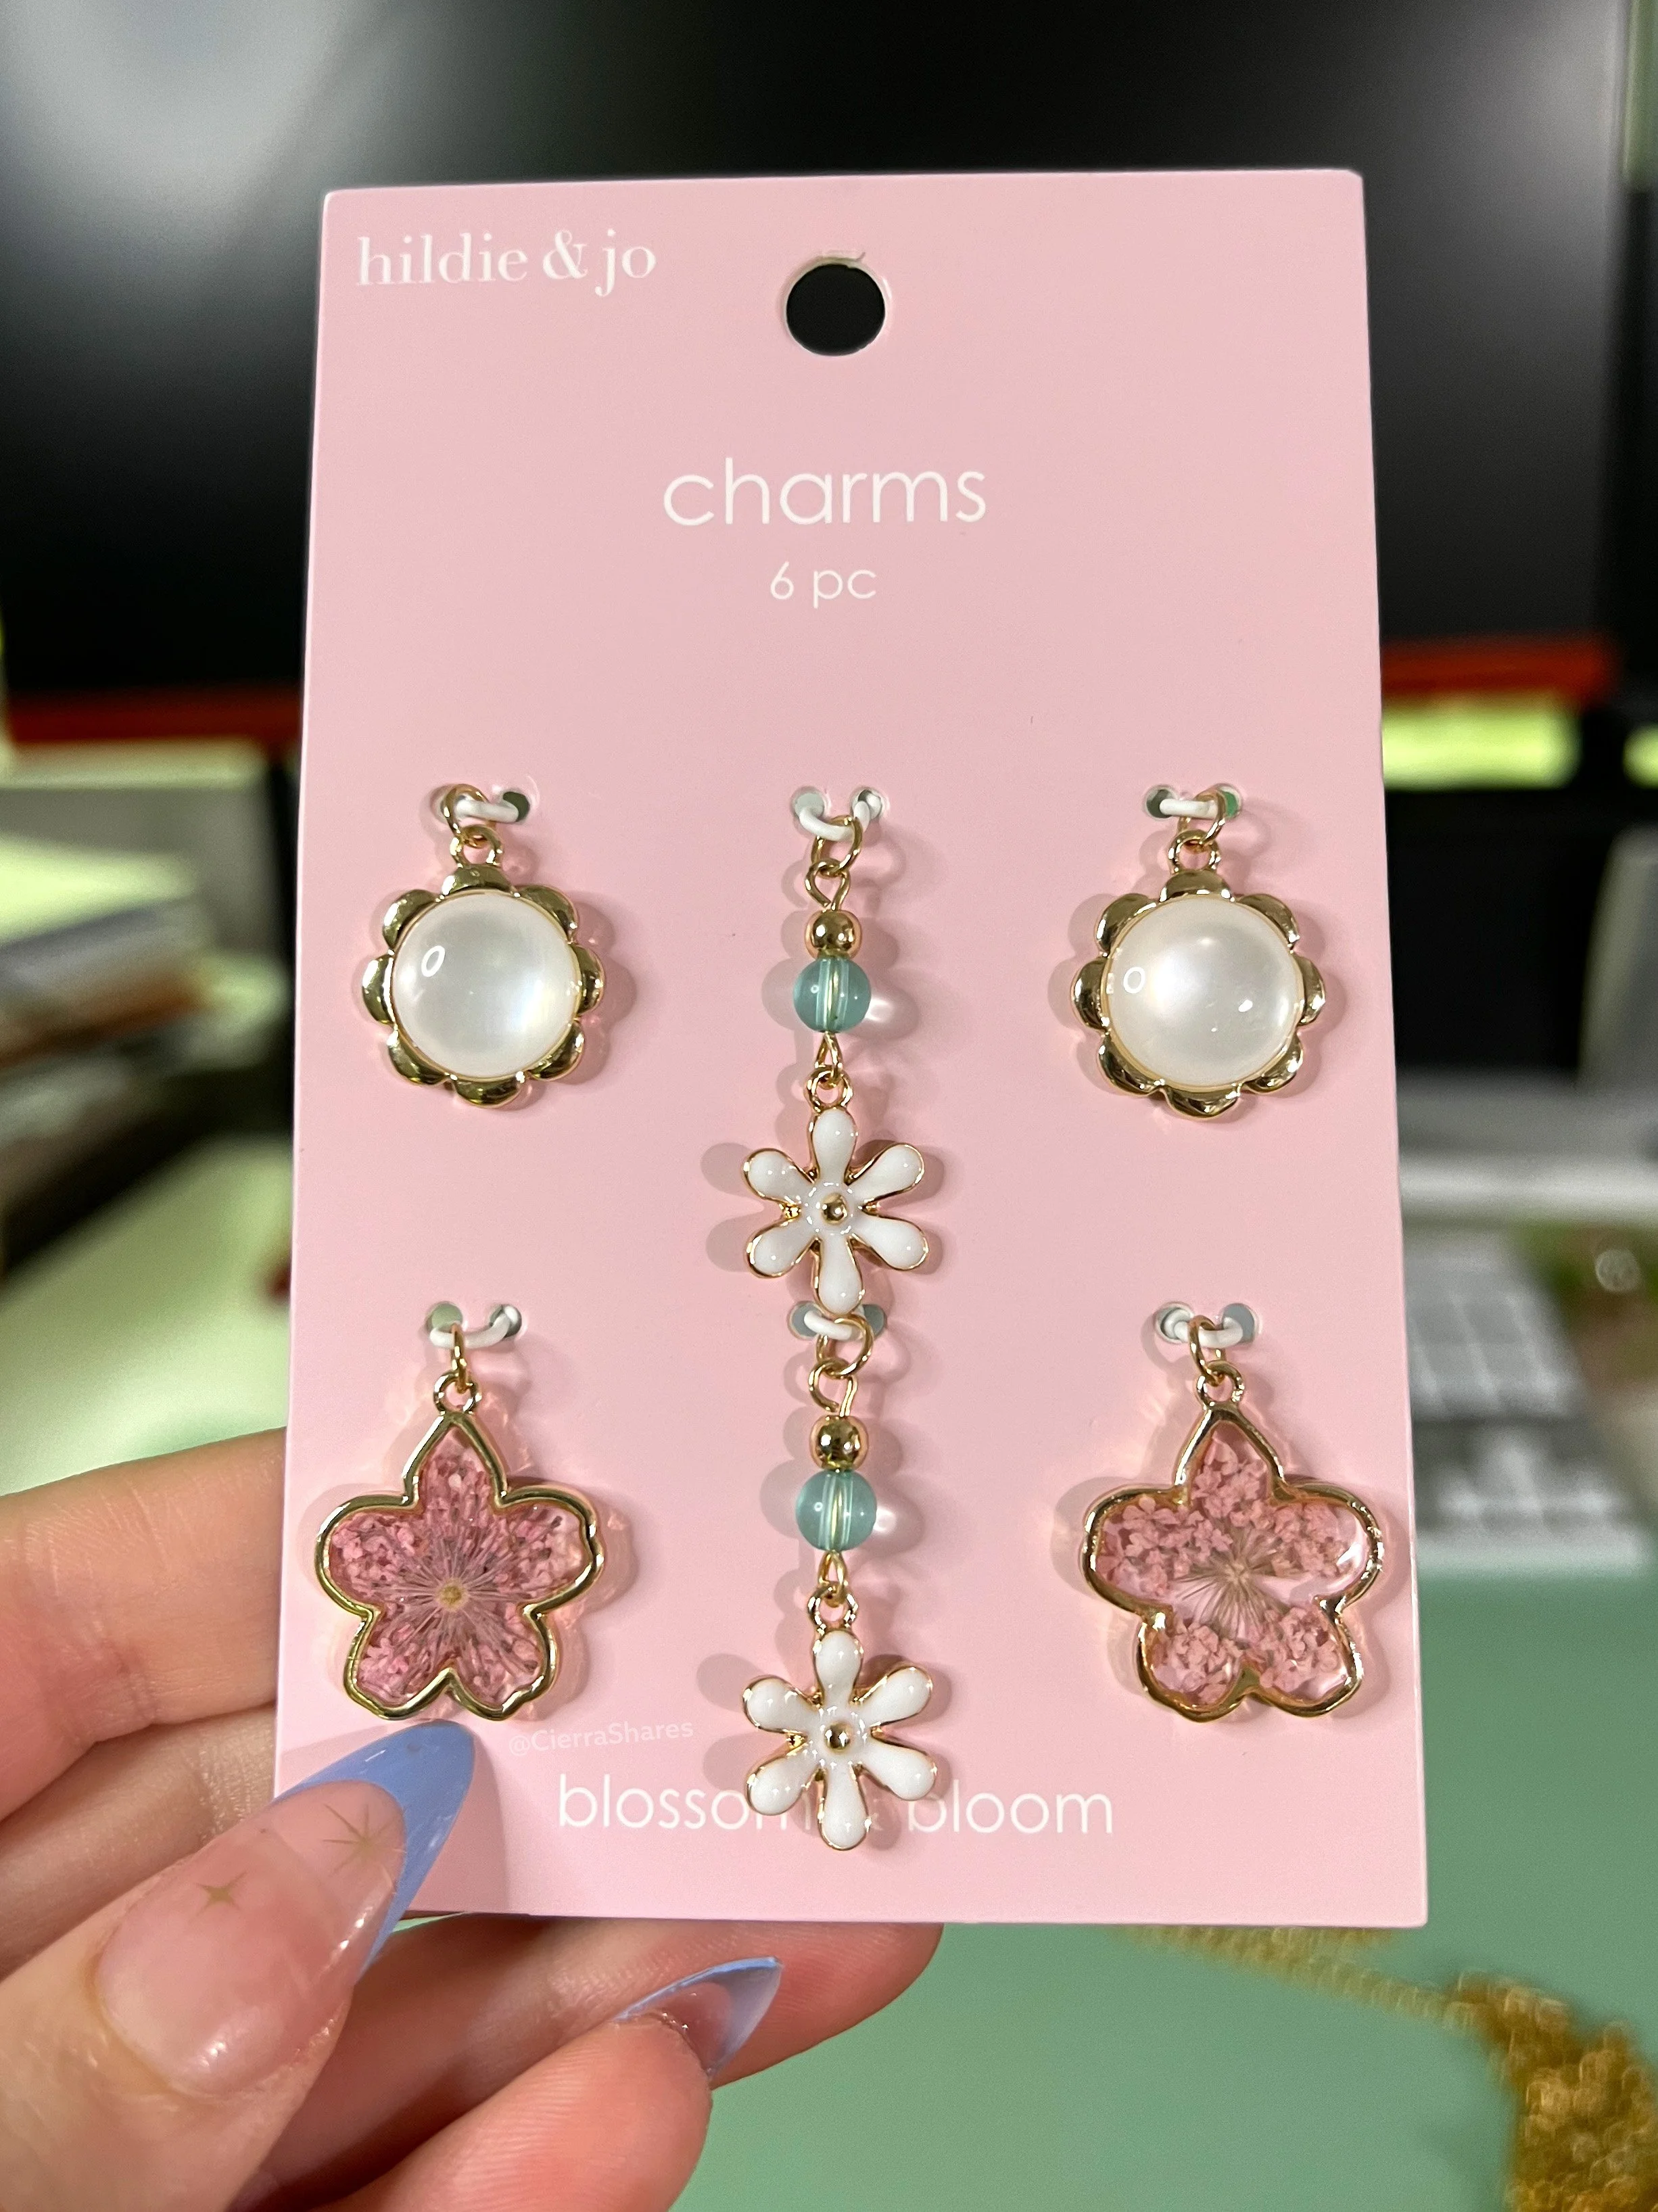
I mixed two packs of Hildie&Jo charms, only available at Joann. Here is a link to the chain I used.
Tips & Tricks:
Variety is key! Don't be afraid to mix different shapes, sizes, and colors of charms.
More is more!: I went with 7 charms on my necklace but I plan on adding more in the future! Show of your interests and get creative with your charms!
Make your own charms! Repurpose old buttons, pendants from broken jewelry, or even tiny figurines. If you want, you can get extra creative with air-dry clay! Use a jump ring to create a loop for attaching them to the chain.
Secure those jumps! Make sure your jump rings are completely closed to prevent charms from falling off. Losing a treasured charm is a terrible feeling. :(
With a little creativity and these simple steps, you'll have a custom charm necklace to treasure in no time! I hope you found this post helpful, and I would love to see what you make — tag me @CierraShares wherever you post them!


